
9 tips and ideas for creating a great travel photo book
Putting together a travel photo book can be the perfect creative project for a slow afternoon, rainy day, or any weekend at home. It’s a wonderful way to relive past adventures, share your memories with family, and document the people, landmarks, food, art, and culture you experienced along the way. (Making travel books can also help satisfy those feelings of wanderlust when you can’t get away from home.)
Just like memorable expeditions, great travel photo books come in all different sizes and styles. There are many ways to make a good photo book. So the path you take is up to you. Your album might feature a chronological series of photos with basic captions, or lots of personal stories and historical information, like a narrative travelogue. Some people even scan tickets, postcards, and other mementos to make a collage-style scrapbook.
Whichever route you take, follow these travel photo book tips for great results.
1. Know your audience
Think about the reason behind your project. Are you making a travel photo book to keep, sell, or share with family? Knowing this will help you decide what kind of pictures to include. You may also want to consider how other authors put together their photos and stories for a wider audience. Sri Lanka by Dan Rubin and Folk Tales by Julia Nimke are two amazing examples of unique travel photography books.
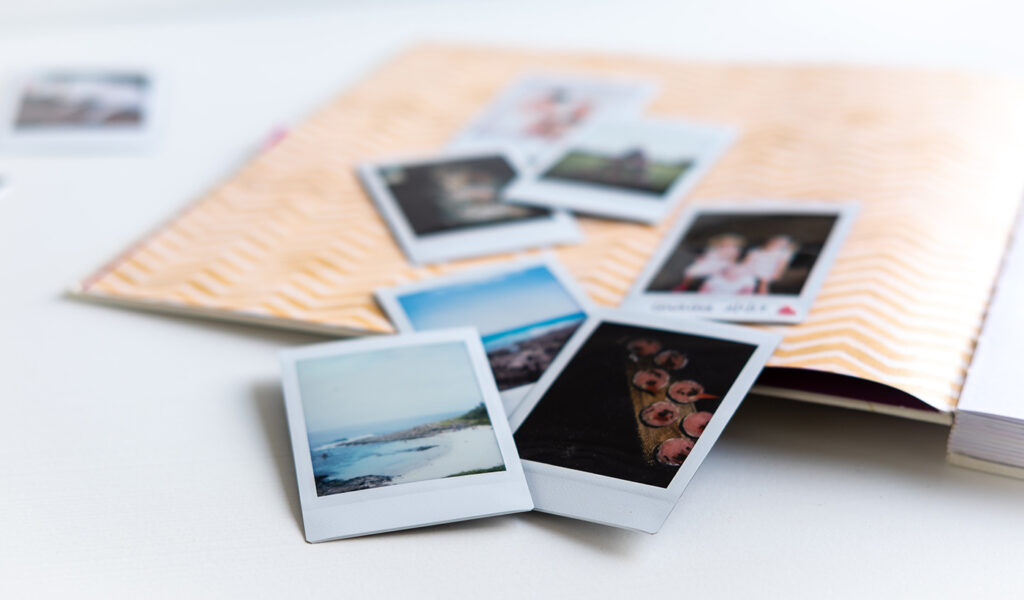
2. Organize your photos
If you have travel photos from the same trip on your phone and digital camera, start by organizing your photos and putting them all in one place. Create a folder for each batch of photos, labeled with the year and location. For example, 2019 > Italy > Rome. Then rename your images by date and subject matter. The more organized you are at the start, the easier it will be to find specific photos when you need them.
3. Find a story or theme
Look through your images and see what kind of visual story you want to create. Some photography books tell a story with a clear beginning, middle, and end. Others feature photos grouped by subject matter, color, or theme. There is no right or wrong way to organize your book, but the process will go more smoothly if you choose a direction or focus. If you’re making a travel photo book to share with other people, think about which photos will draw them in and capture all the different sights and experiences.
4. Select and edit images carefully
It’s always a good idea to organize, crop, and edit your images before you start designing the pages of your travel photo book. When choosing your best photos, be as selective as possible. Eliminate blurry images and duplicate shots of the same scene. Remember, less is more. (You don’t need five photos of the same boat or building.) Try to include a variety of close-ups, panoramas, people, and landscapes.
5. Choose a unique look and feel
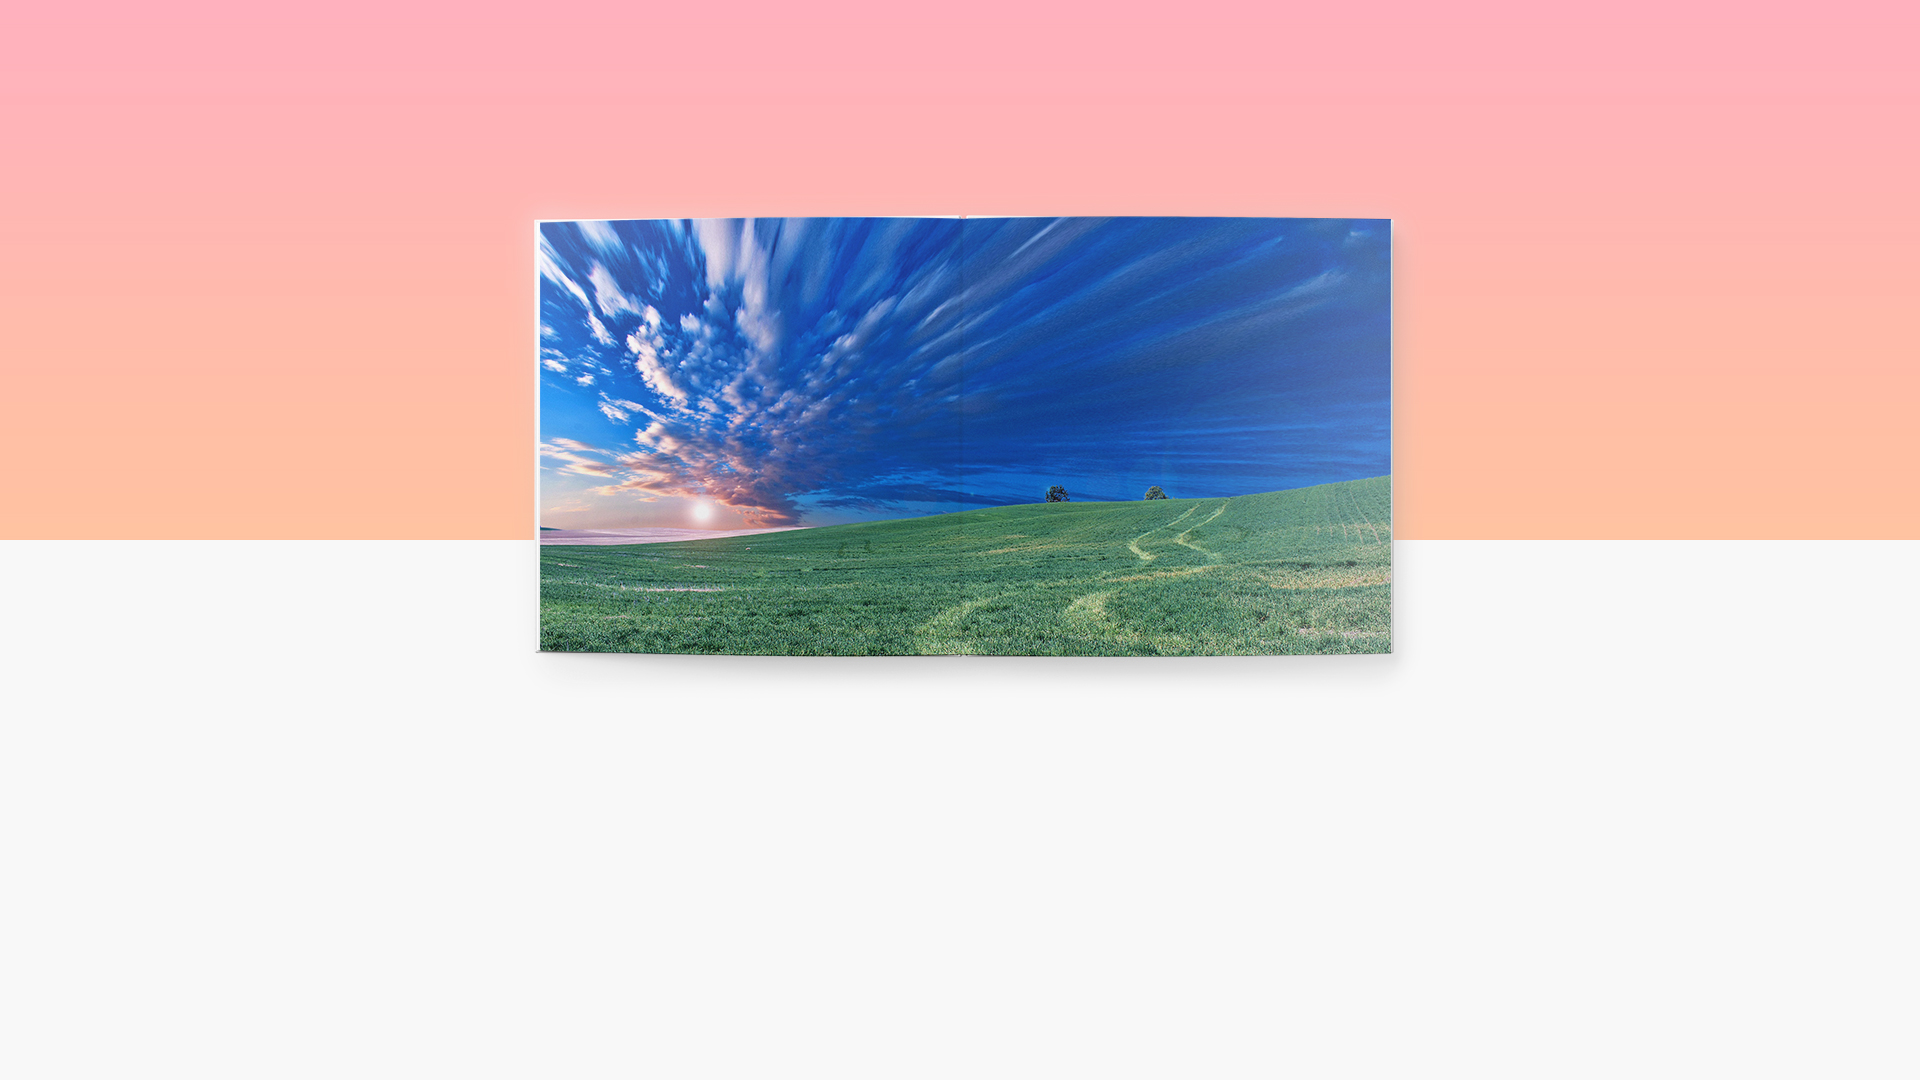
You’re in charge of the look and feel of your travel book. Pick a format, size, cover type, and paper type that makes sense for your project and audience. Are you going for a high-end, hardcover coffee table book? Or do you envision a more informal softcover photo album? If you want a truly luxurious showcase for your panoramic landscapes and breathtaking vistas, choose layflat. Our Layflat Photo Books feature panoramic spreads so your photos can sprawl uninterrupted across two pages.
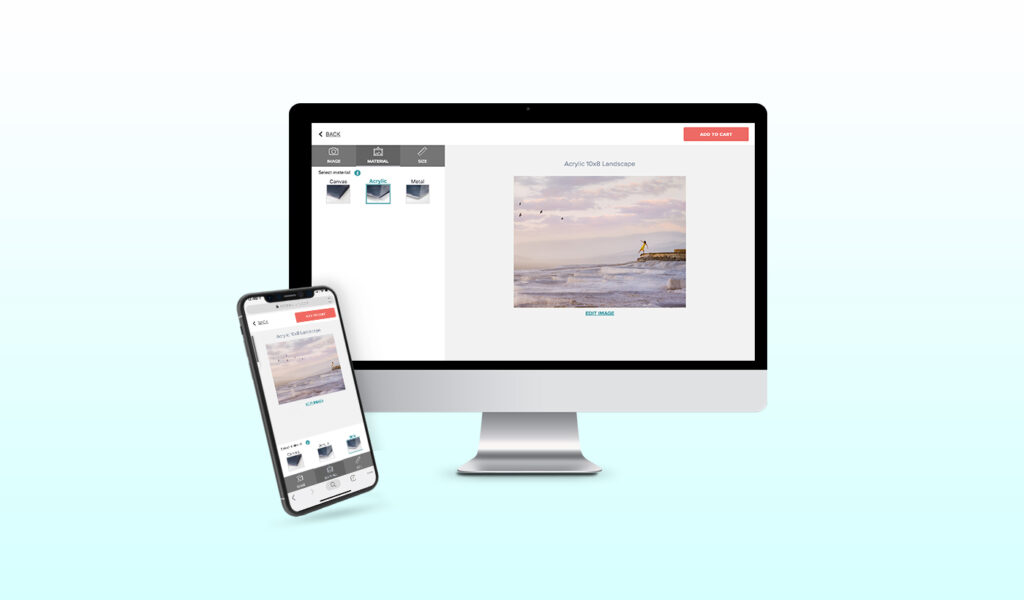
6. Pick a design tool
With Blurb, you have the option to create photo books on your phone or computer. You can use the Mobile app on your phone, download BookWright on your desktop, or try our Adobe-compatible tools. Explore our free book-making and design tools to find the right fit.
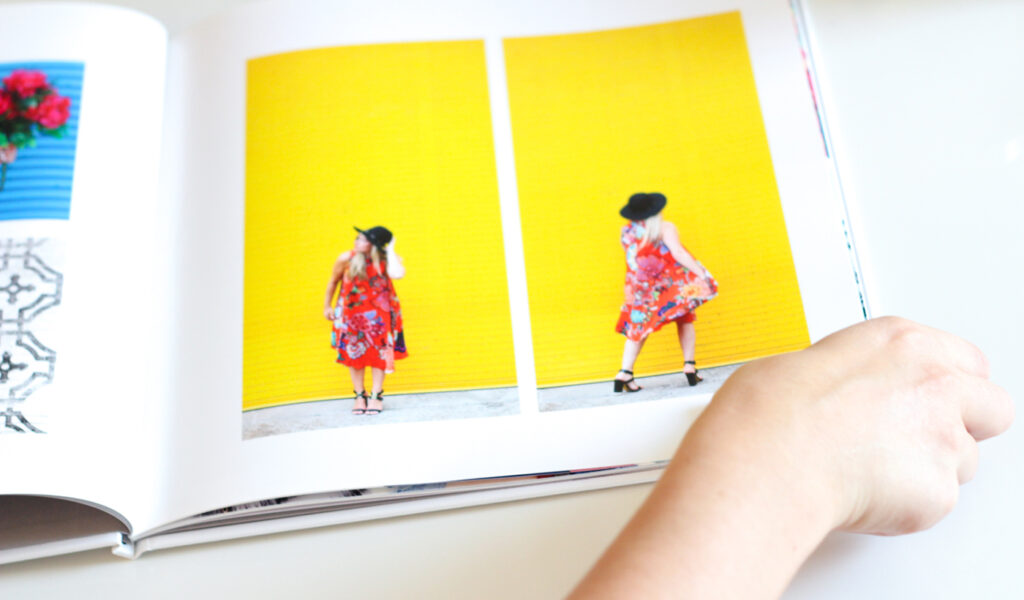
7. Design clean and balanced layouts
Since you’re taking the time to showcase your favorite photos, make sure that you give them room to breathe. A common mistake people make in travel photo books is crowding the page with too many images. A photo collage can be fun for a page of ‘outtakes,’ but typically you want to allow white space between photos if there are more than one or two on the page. You can jumpstart the design process by using our free travel photo book templates to create balanced, impactful page layouts.
8. Add meaningful text and captions
This step might be as simple as giving each group of photos a title or as involved as adding detailed captions, stories, or fun facts. Think about what kind of information could make your story even richer—and which anecdotes or travel memories you want to get down in writing before you forget! If you’re making a gift, consider adding a dedication page or personalized notes.
9. Savor your book
There’s nothing like holding your newly printed travel photo book and flipping through those beautiful pages as all your memories come rushing back. If you’ve been “meaning to” make a travel keepsake for a while, there’s no time like the present. Get started today.
***
Blurb is a print-on-demand platform where you can design and print your own travel books. For more ideas and inspiration, check out the travel photo books by other Blurb creators in the Blurb Bookstore.